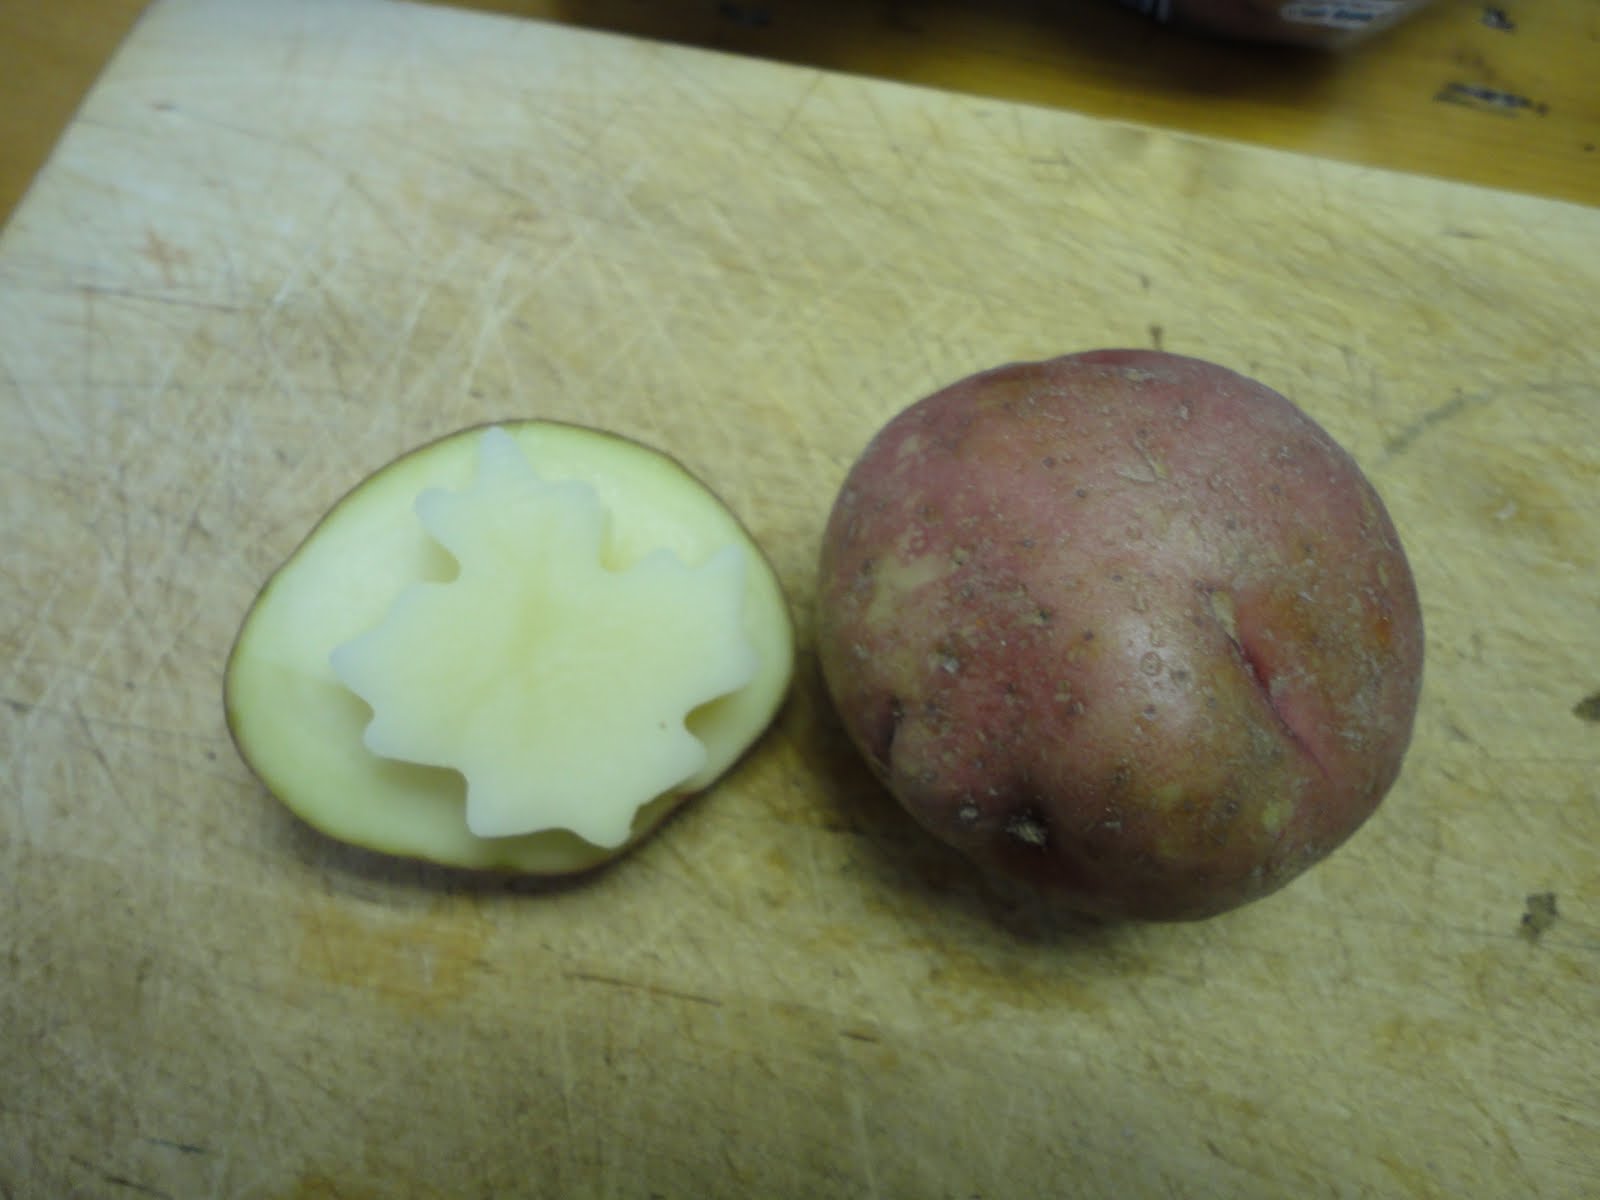
So, the other day I showed you our Canada Day t-shirts. Now I'd like to share with you how we made them. We used potatoes and cookie cutters to make the stamps...see I pressed the cookie cutter into the potato and then cut around the outside of the potato to remove the excess. This made it super easy to create the mold. I got the idea on Skip to my Lou (honestly, I could live at that woman's house!) We also tried the yo-yo balloons the other day...if nothing else it filled a little time and the kids had fun with them.
 So there is one stamp. I made 4 so that we could use a few different colours.

 Sarah insisted that her shirt had to match her pink skirt so we found a suitable pink to go along (I know, not super Canadian but she is a girly-girl what can I say?) The tutorial said to use fabric paint but since I don't have any, I used my regular paint (the kind you use on wood). I have tonnes of that! We used the same paint for our St. Patrick's Day t-shirts and they are holding up great!
 So, apply paint to your stamps (we used a brush to try and get it on evenly and avoid globbing).
 Plan your design and stamp away!
 When we were done we then used the Freezer Paper Stencil method to put 'Canada' across the t-shirts. I got the idea from Skip to My Lou...but all you do is cut out the image or letters you want (I used my Cricut die-cutting machine), and iron the shiny side onto the t-shirt. Then paint away! We had to be careful doing the letters because they were small and in some cases delicate but they turned out great!
 Peel off your freezer paper...
 And voila! Oops! Look a little further down and you will see the girly-girl shirt!
 Aren't they sweet? I mean the shirts, but the kids are too!
 Now, that's how you celebrate in style! The kids LOVED making these! We will definitely revisit the potato print technique this summer!
 So there is one stamp. I made 4 so that we could use a few different colours.
 Sarah insisted that her shirt had to match her pink skirt so we found a suitable pink to go along (I know, not super Canadian but she is a girly-girl what can I say?) The tutorial said to use fabric paint but since I don't have any, I used my regular paint (the kind you use on wood). I have tonnes of that! We used the same paint for our St. Patrick's Day t-shirts and they are holding up great!
 So, apply paint to your stamps (we used a brush to try and get it on evenly and avoid globbing).
 Plan your design and stamp away!
 When we were done we then used the Freezer Paper Stencil method to put 'Canada' across the t-shirts. I got the idea from Skip to My Lou...but all you do is cut out the image or letters you want (I used my Cricut die-cutting machine), and iron the shiny side onto the t-shirt. Then paint away! We had to be careful doing the letters because they were small and in some cases delicate but they turned out great!
 Peel off your freezer paper...
 And voila! Oops! Look a little further down and you will see the girly-girl shirt!
 Aren't they sweet? I mean the shirts, but the kids are too!
 Now, that's how you celebrate in style! The kids LOVED making these! We will definitely revisit the potato print technique this summer!
Enjoy!
Heather